 View Cart {{shoppingcart.totalQuantityDisplay}} Item(s)
View Cart {{shoppingcart.totalQuantityDisplay}} Item(s)
View Cart {{shoppingcart.totalQuantityDisplay}} Item(s)
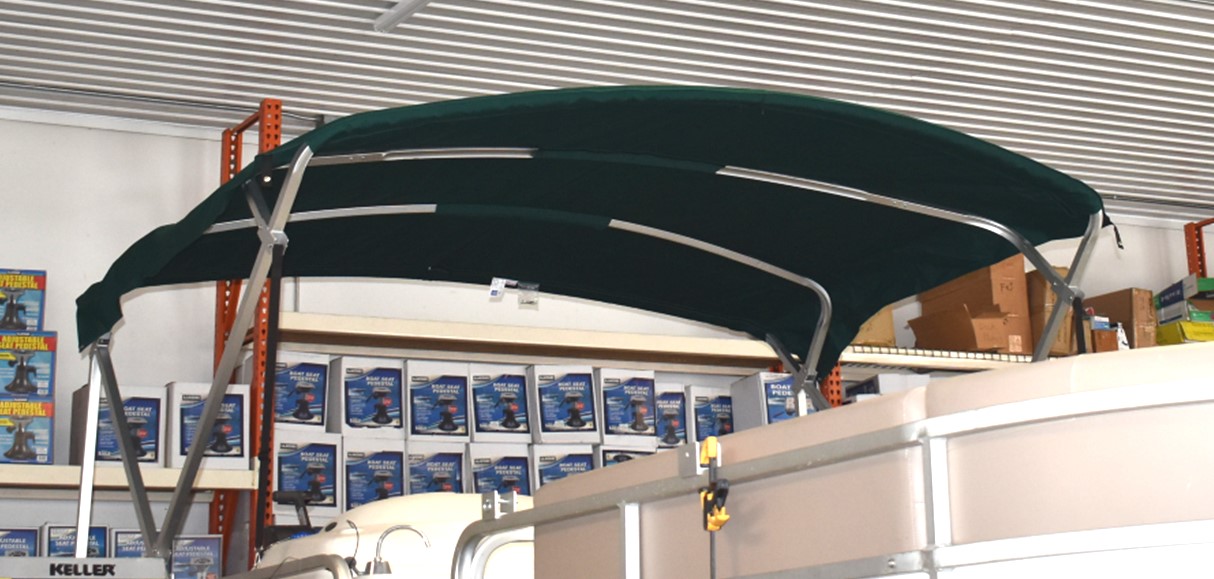
Best Bimini Installation Instructions
2. Find a common spot to measure on both sides of your boat and mount the opposite side H-bracket. *Make sure it matches the H-bracket on the other side*
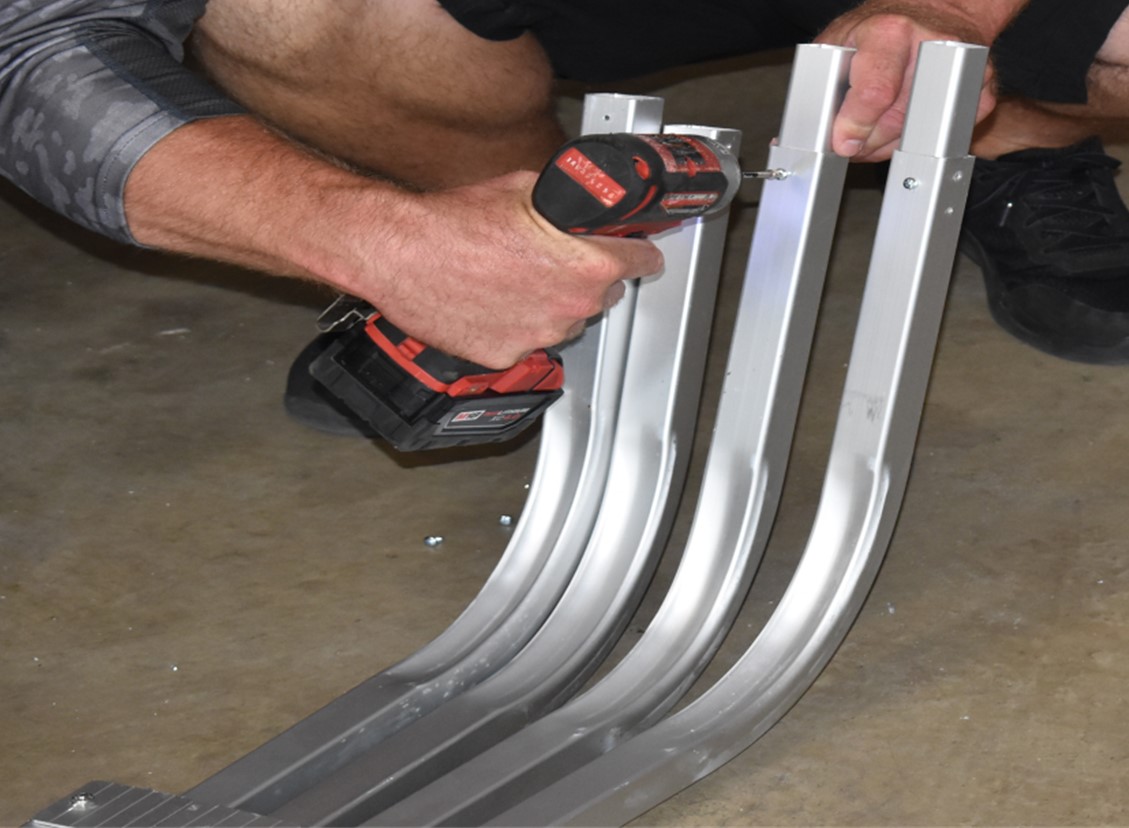
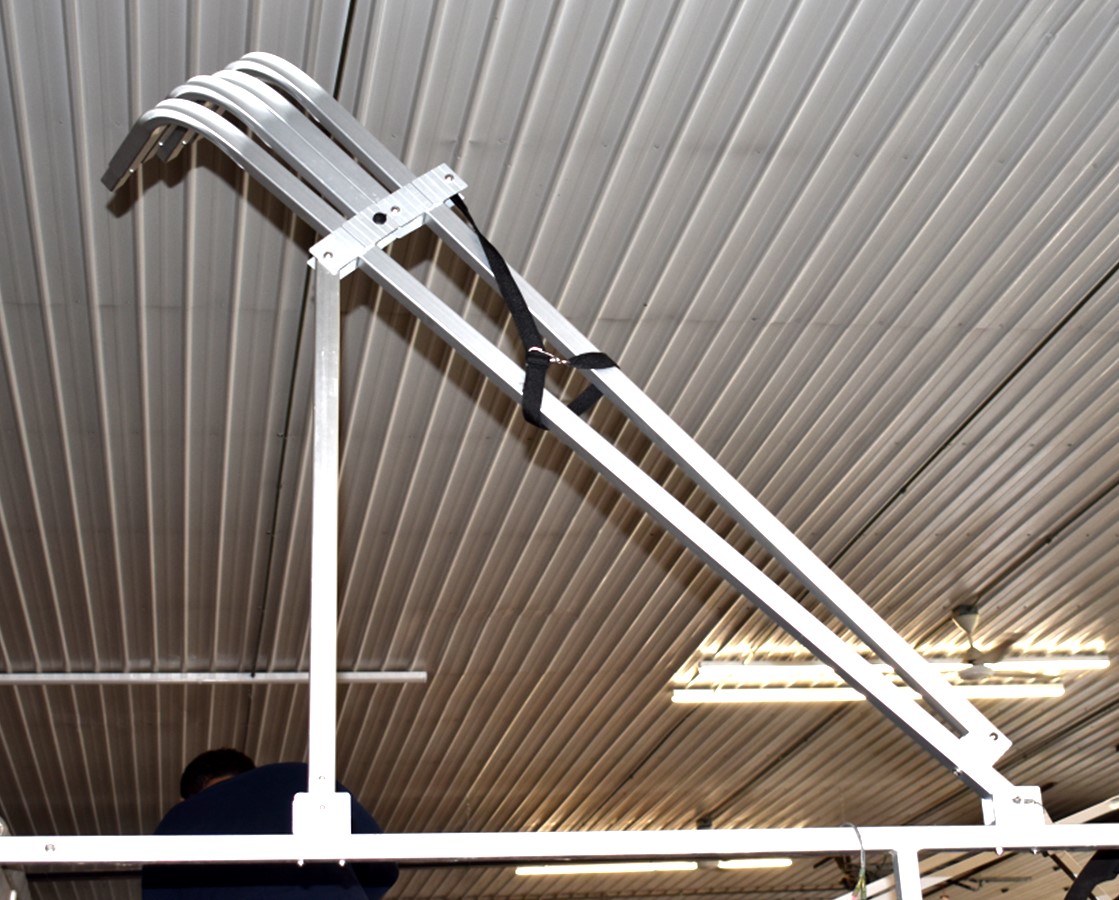
3. Now you want to locate your left or right sided bow assembly and insert the connector pieces halfway. *Use the self tapping Phillips screws to secure these in place from the bottom of the frame on each side to avoid any rubbing on the fabric.*
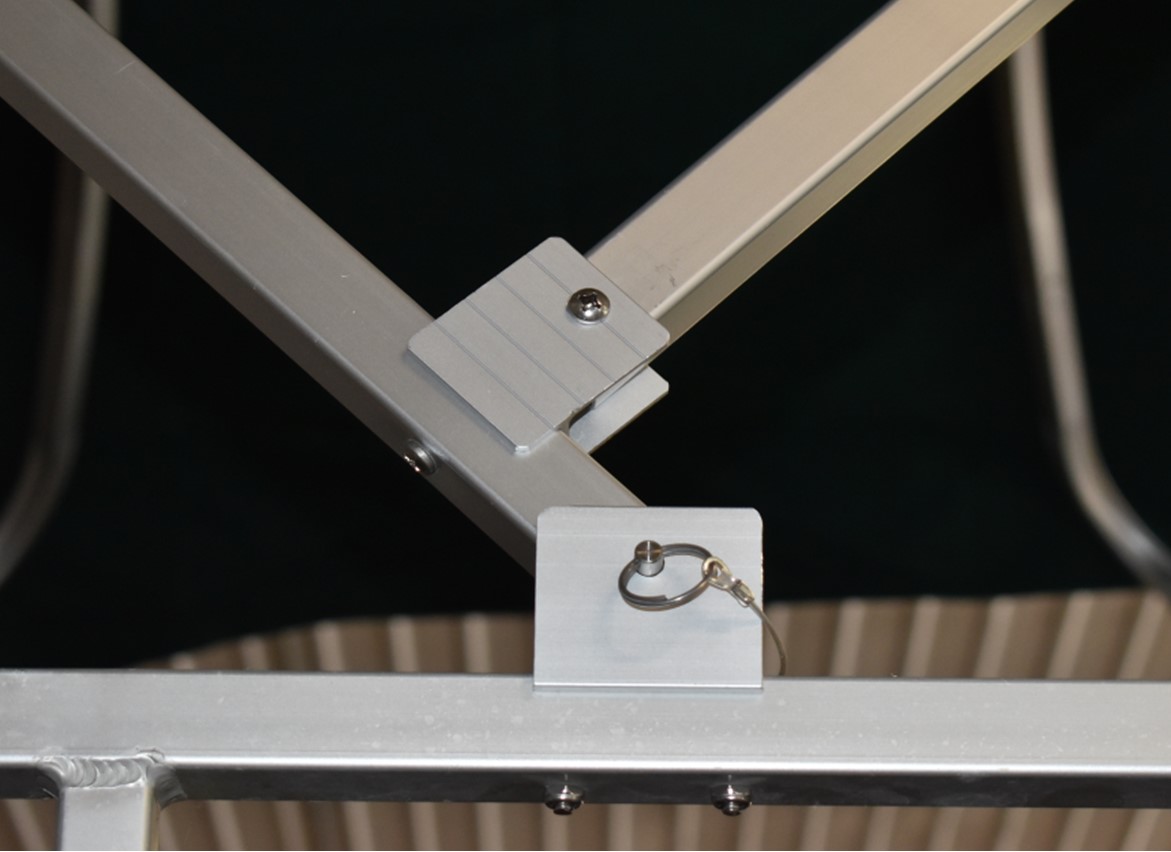
4. Once the connector pieces are secure, attach the bow assembly to your middle H-bracket and secure with pull pin.
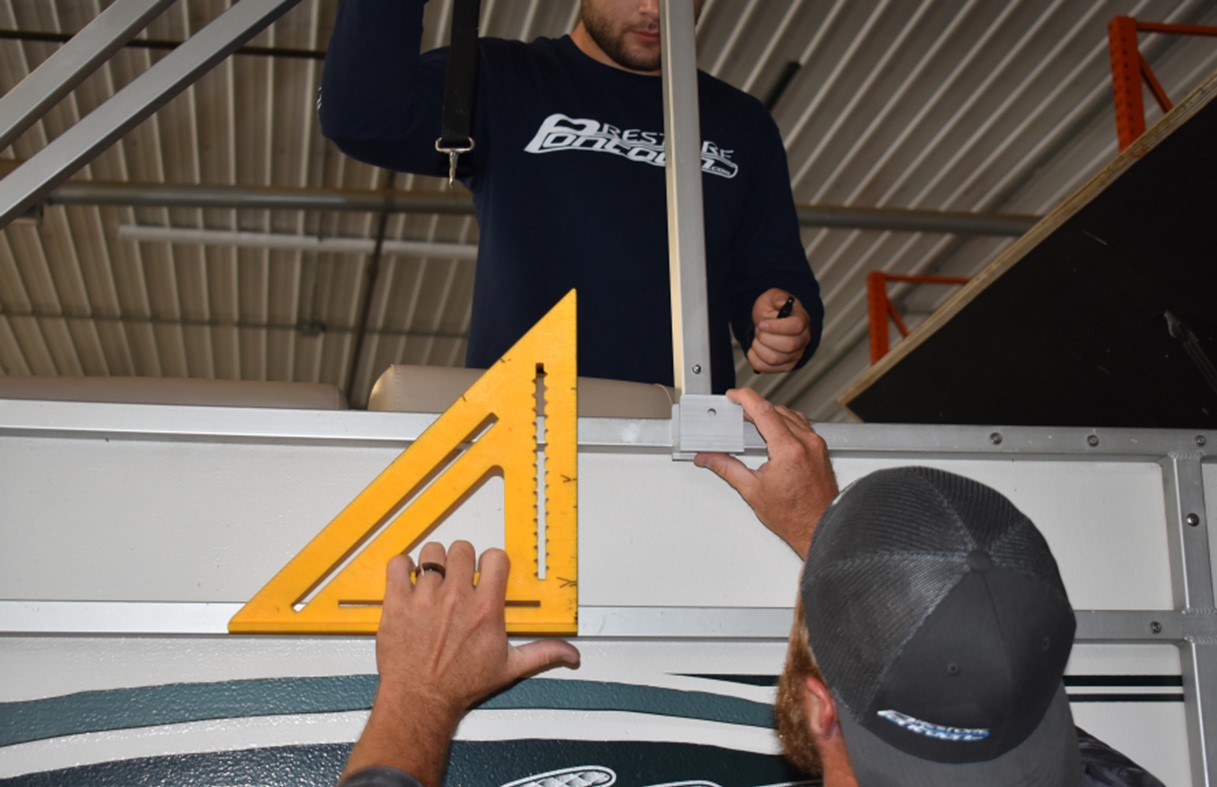
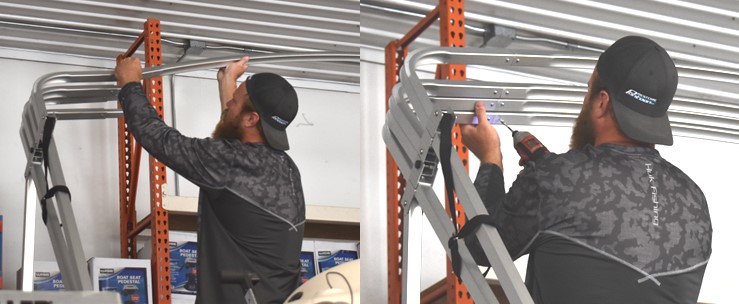
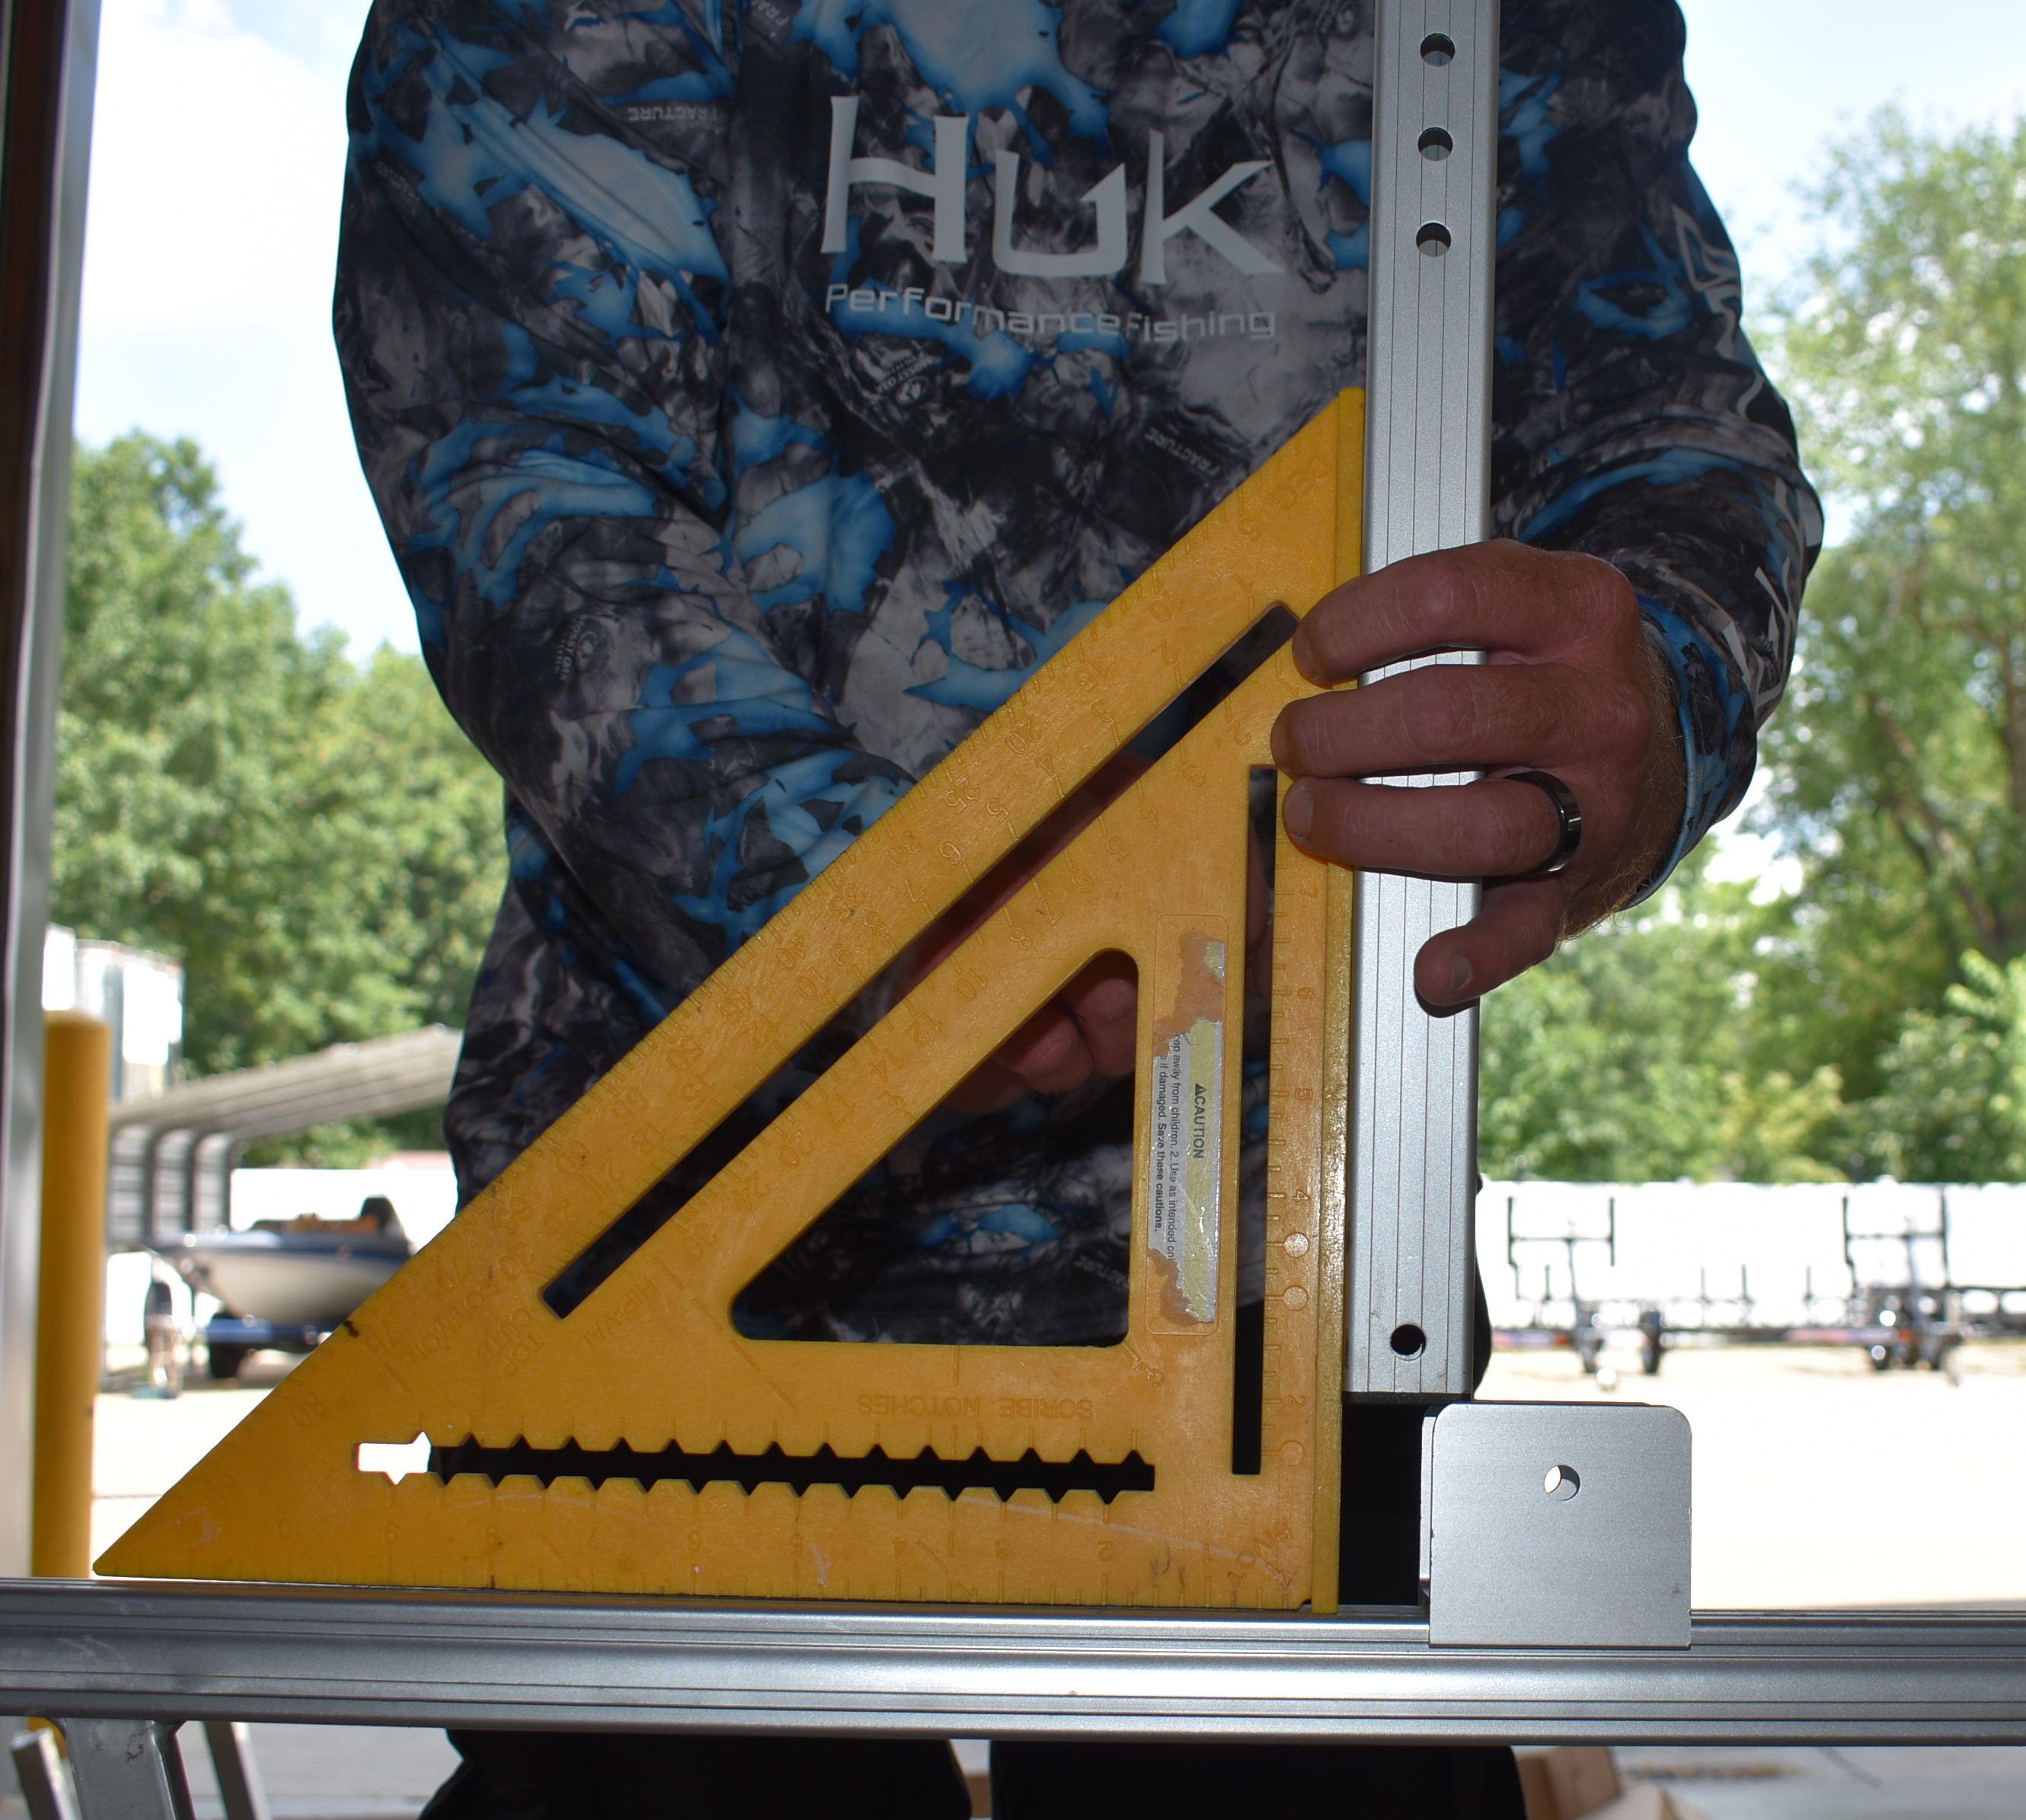
5. Line up the rear struts perpendicular to the top rail, creating a 90 degree angle. Mark the position for the holes in the H -bracket on the top rail and drill completely through the rail.
6. Repeat steps 1-5 on the opposite side.
7. Once both bow assembly's are secure you will start to attach your center bows. Make sure the bow with the hole cutout goes in the back for the stern light. *You may want to place all bows on the corresponding arms before securing with screws on the bottom side*
8. Now find your bimini top fabric and lay it out to find the back side. *There will be a hole cutout for the stern light indicating it is the back*
9. Find your last center bow and zipper that into the last sleeve of the canvas.
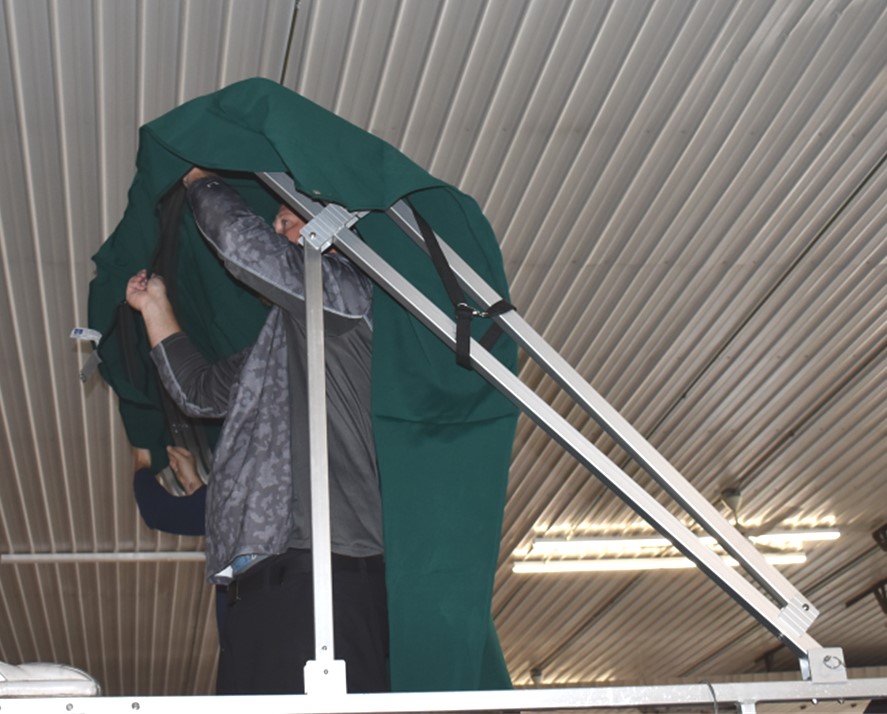
10. Repeat step 9 for bows 2-4.
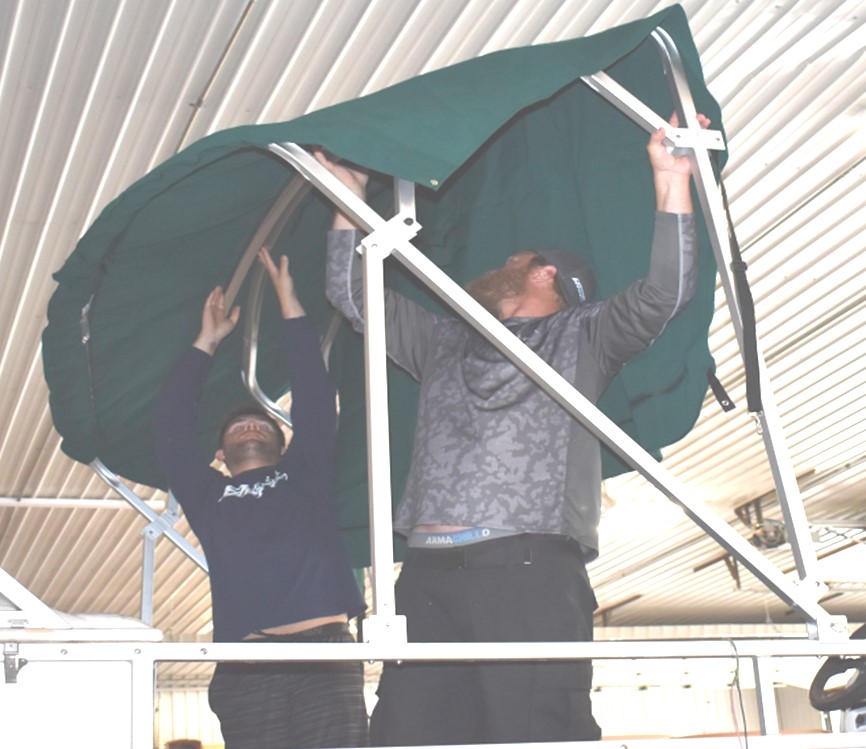
11. Open your top and let your front strut hang loose. Mount it the same way you mounted the rear in step 5.
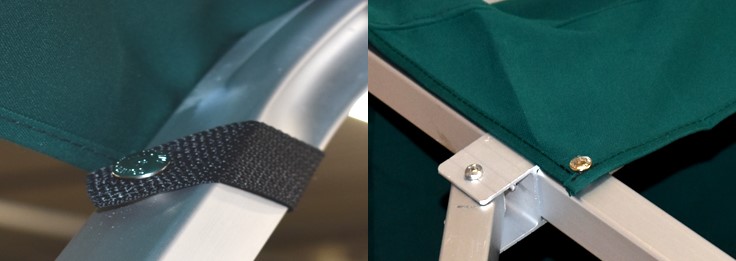
12. Step back and straighten out the top, ensuring the middle seam is centered on the boat. Finish it off by securing the four snaps, one on each corner.
Congratulations you just installed your bimini top!