 View Cart {{shoppingcart.totalQuantityDisplay}} Item(s)
View Cart {{shoppingcart.totalQuantityDisplay}} Item(s)
View Cart {{shoppingcart.totalQuantityDisplay}} Item(s)
How to Install Replacement Pontoon Fence Paneling – Step-by-Step Guide
How to Install Replacement Pontoon Fence Paneling
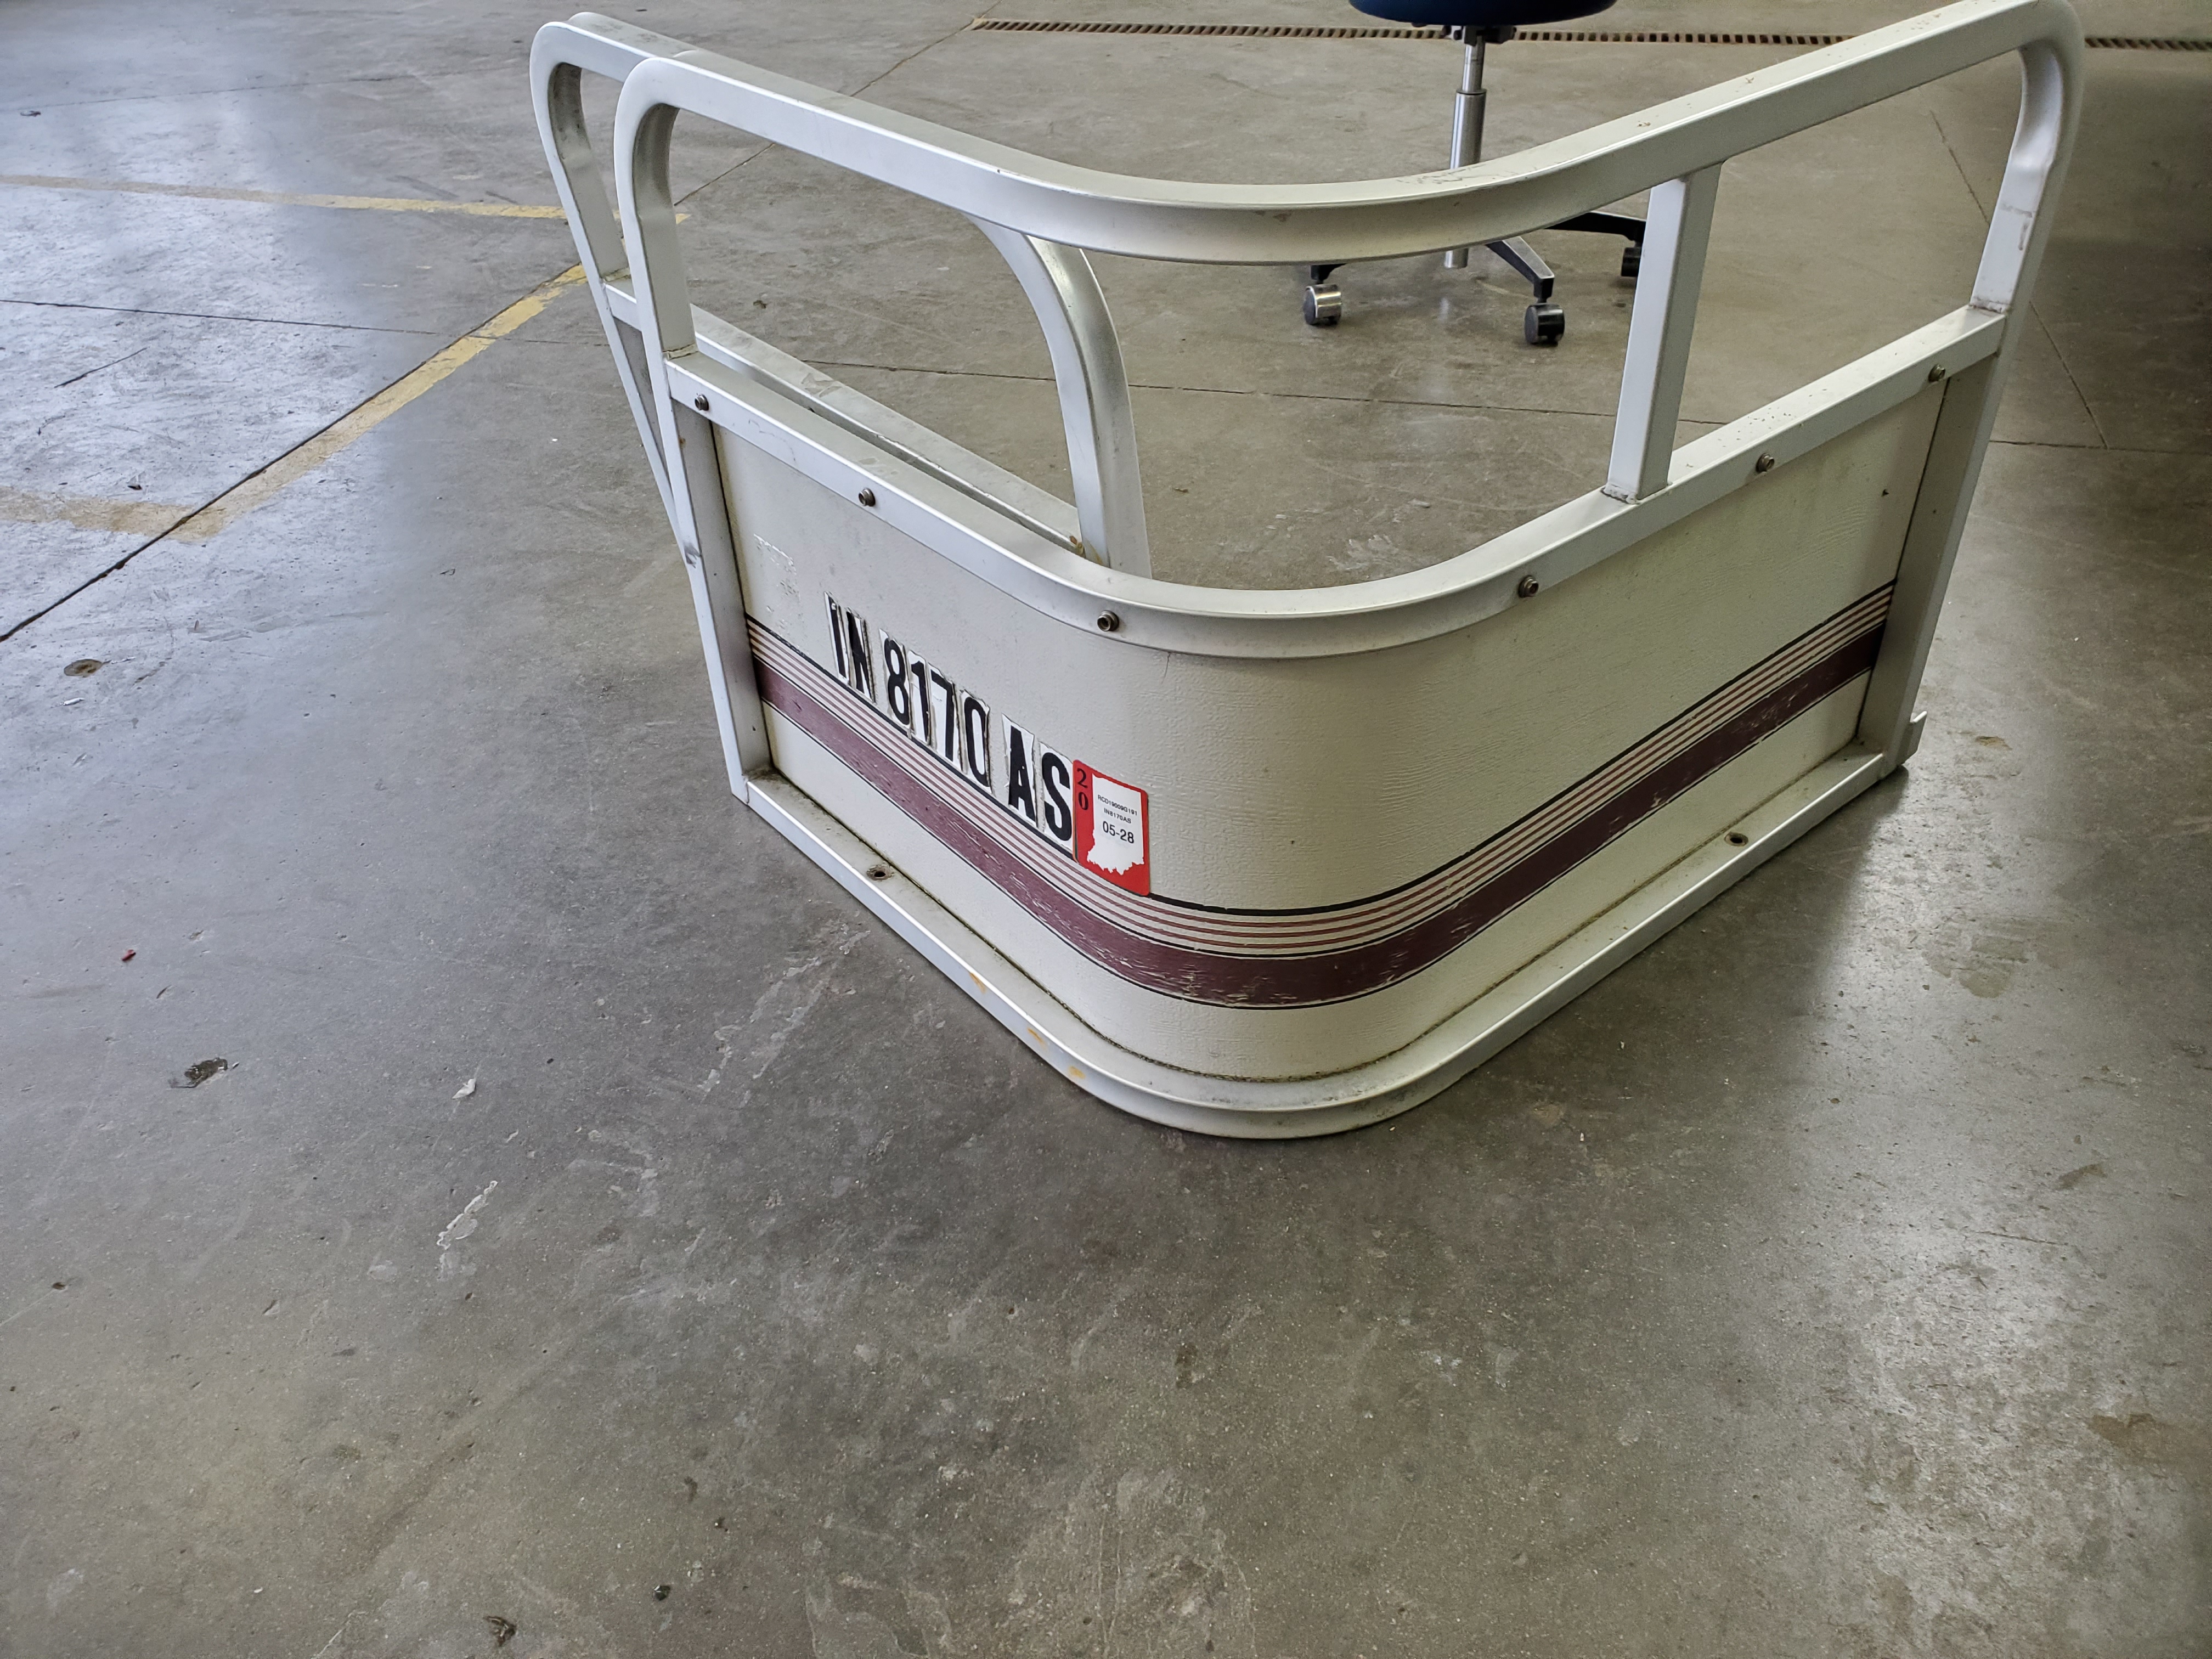
Replacing your pontoon fence paneling is a great way to restore your boat’s appearance and give it a clean, factory-fresh look. Whether your old panels are dented, scratched, or faded, these step-by-step instructions will guide you through installing your new aluminum fence paneling from RestorePontoon®.
Tools & Materials Needed
-
New pontoon fence paneling roll (from your kit)
-
Rivet gun (manual or pneumatic)
-
Electric drill with 1/8″ drill bit
-
Tin snips or metal shears
-
Tape measure
-
Flat scraper
-
Rubber mallet
-
Clamps or masking tape
-
Marker or pencil
-
Safety gloves & eye protection
Step-by-Step Installation
Read over these step-by-step suggestions to help replace your old dented or scratched aluminum paneling with our new paneling:
Step 1: Remove Existing Fence and Rails
-
Remove all fencing and rails from your pontoon deck.
Step 2: Remove Fasteners
-
Take out any screws or pop-rivets attaching the old fencing to the rails.
Step 3: Pry Open Aluminum Paneling
-
Using a flat scraper, pry open the lips that pinch the aluminum paneling to the rails.
-
Do this along the entire rail section.
Step 4: Remove Damaged Paneling
-
Using a rubber mallet, knock out the old or damaged paneling section.
Step 5 & 6: Measure and Score New Paneling
-
Measure the size of the replacement section needed.
-
Score the aluminum paneling at the correct length using a straight edge and a utility tool or metal scribe.
Step 7: Bend and Separate Aluminum
-
Place the scored piece on a sturdy edge.
-
Bend the aluminum back and forth until it breaks apart cleanly.
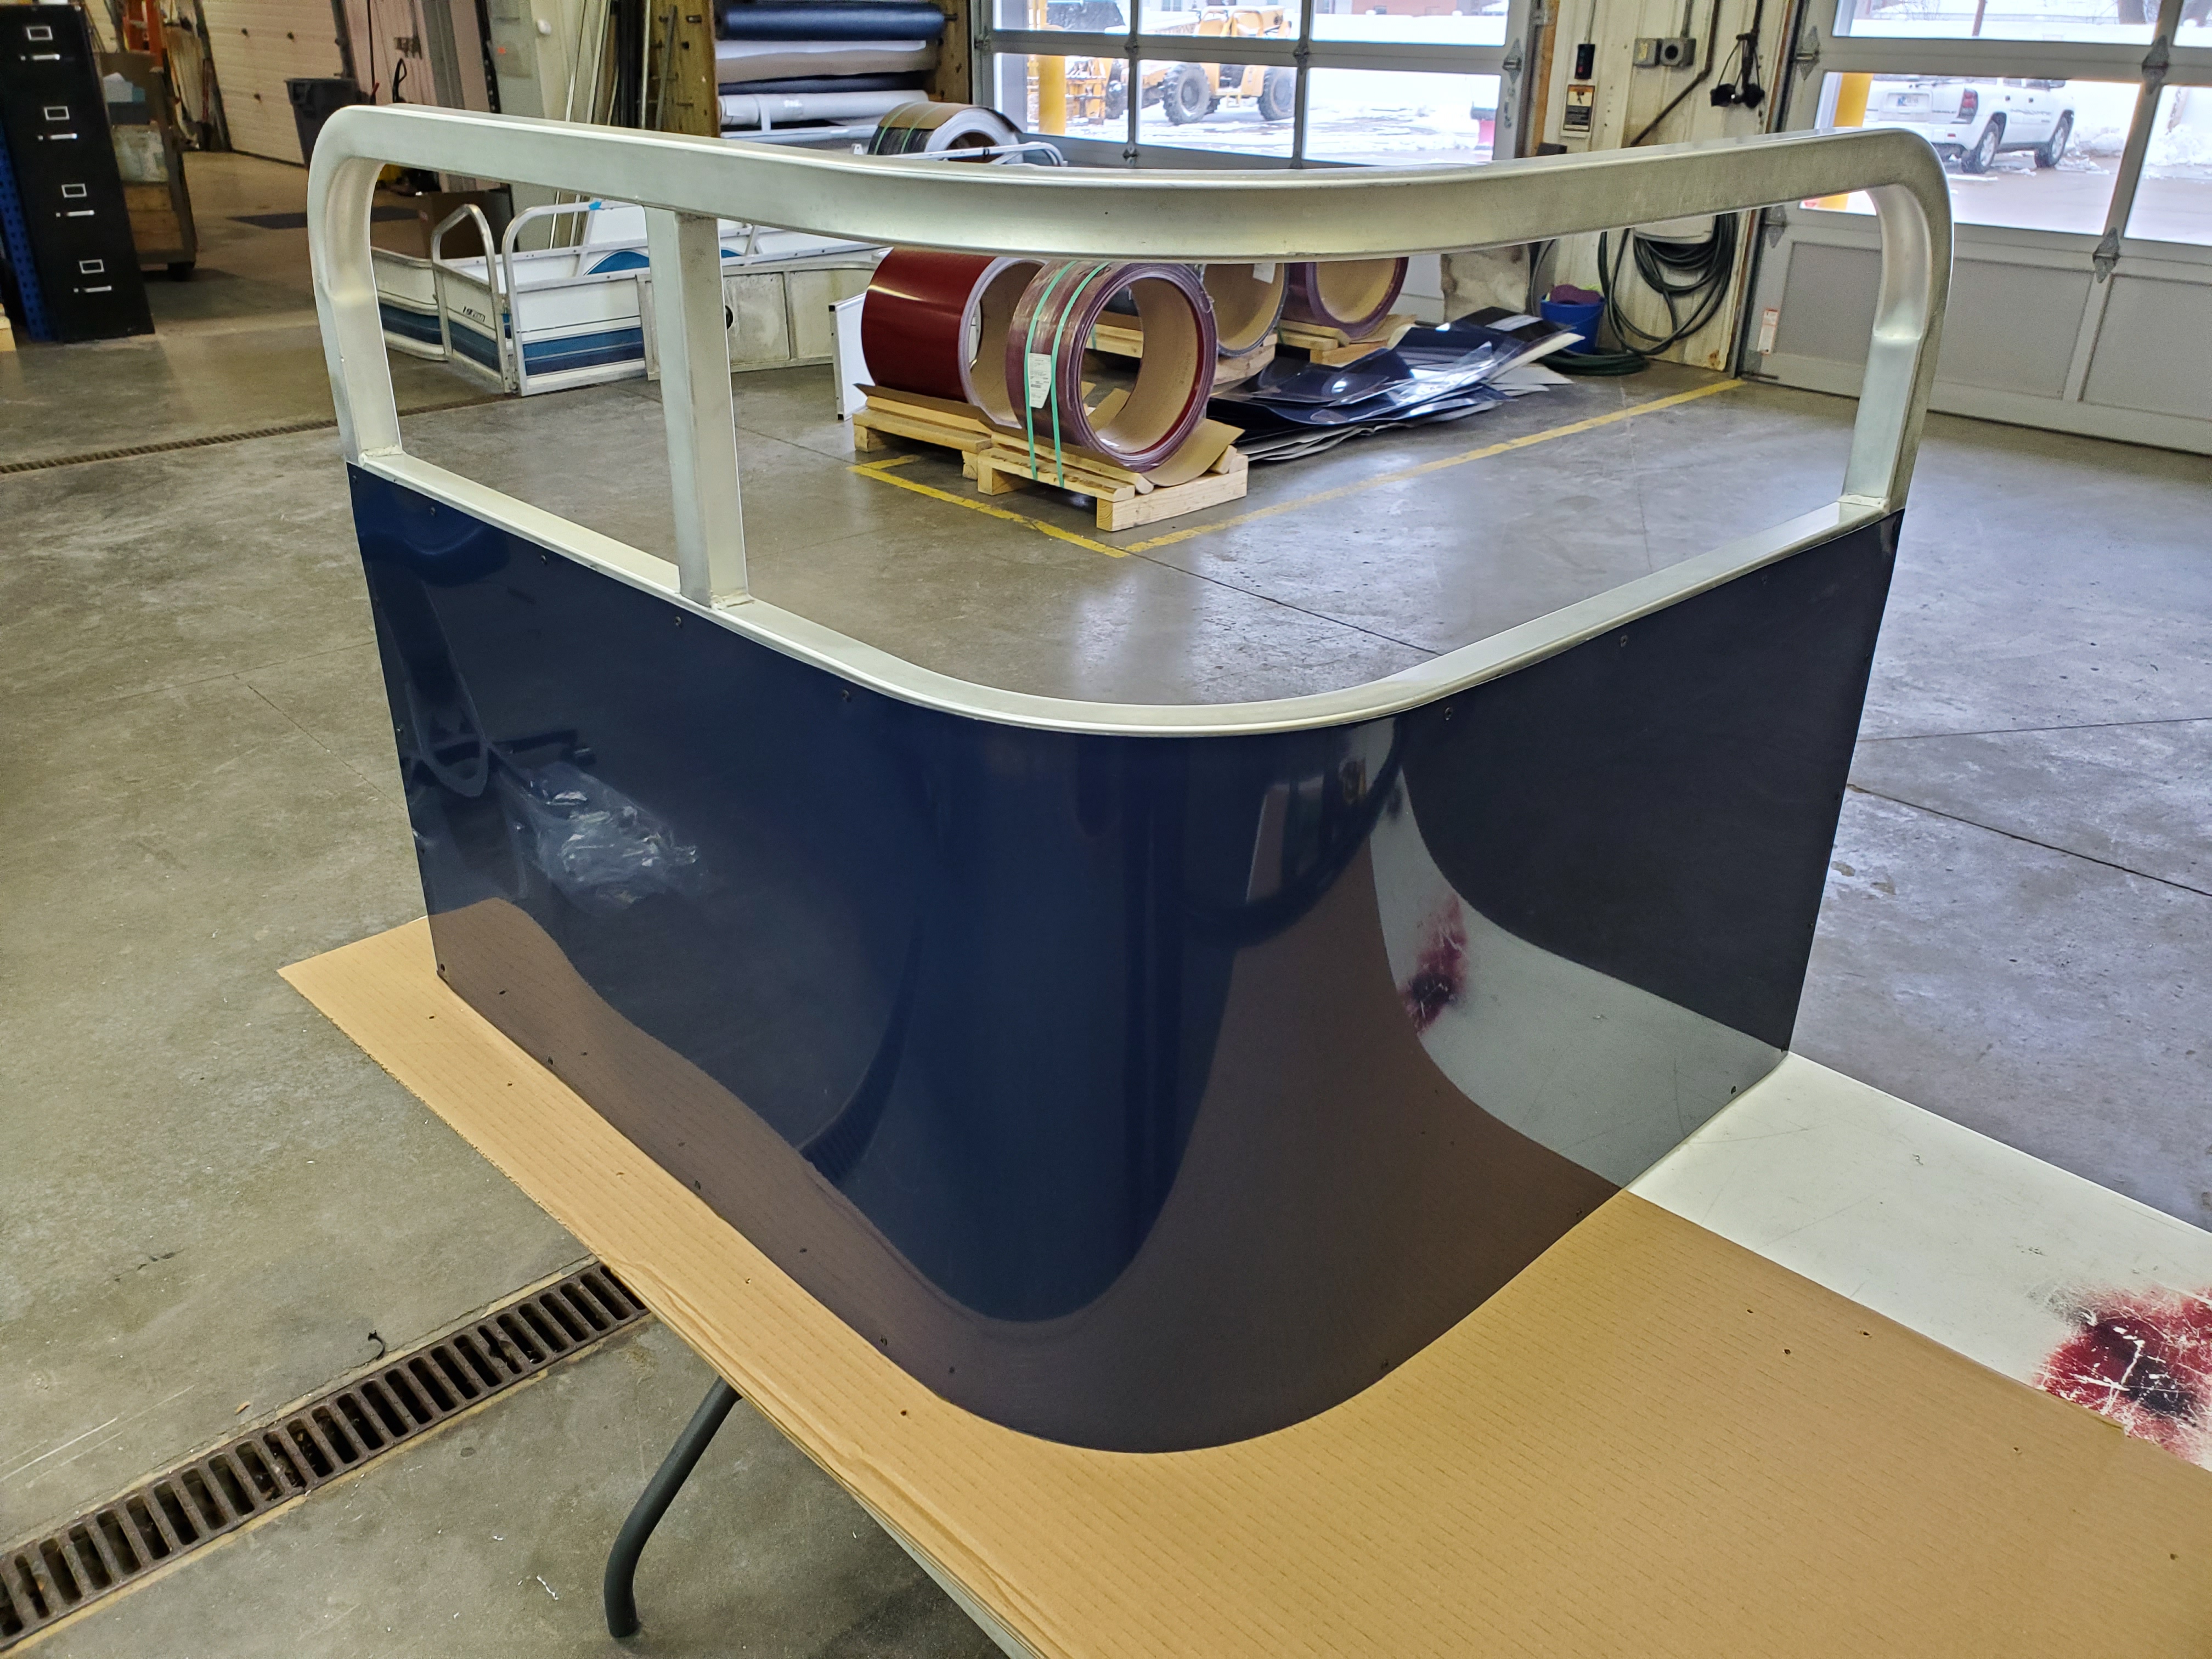
Step 8: Insert New Paneling
-
Slide the new aluminum paneling between the lips of the pontoon rails.
Step 9: Secure Paneling
-
Pound down the lips of the rail with a rubber mallet.
-
Apply any new pop-rivets as needed.
-
Work slowly across the panel, bending a small amount at a time to keep the panel even and smooth.
Step 10: Optional – Add Hardware & Trim
-
Install fence risers under each post to improve drainage and prevent corrosion.
-
Attach the J-trim along the bottom edge for a finished appearance.
-
Apply matching graphics included in your kit if desired.
Step 11: Inspect Your Work
-
Check that all rivets and bolts are secure.
-
Ensure panels are even, smooth, and free of wrinkles.
-
Verify graphics are aligned and bubble-free.
Tips for Best Results
-
Work slowly when bending and securing the aluminum to avoid uneven edges.
-
Always wear gloves and eye protection when cutting or bending metal.
-
Measure twice, cut once — extra care ensures a clean, professional finish.
Optional Paneling-Only Purchase
If you only need replacement paneling without the hardware or graphics, click here:
Replacement Aluminum Pontoon Paneling Only